
Three Calipers Enter. Which One Earns Your Toolbox?
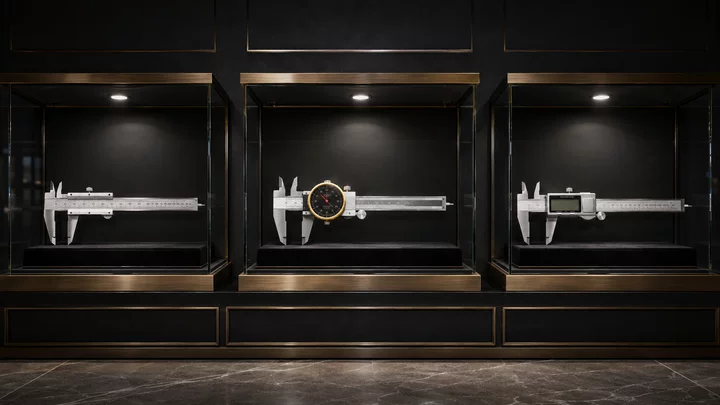
Digital gives you instant numbers. Vernier gives you pure simplicity. Dial gives you something uniquely useful: an easy mechanical reading with movement you can actually see.
ENTER THE SHOWROOM · TEST EACH TOOL ↓
Meet the Three Contenders
Choose a caliper to inspect it. Every design has a real strength—and a tradeoff worth understanding.
MECHANICAL
SIMPLICITY
Traditional Vernier
Best at: battery-free simplicity and direct scale measurement.
Tradeoff: closely spaced lines take practice and careful viewing. It is dependable, but rarely the quickest to read.
MECHANICAL
BALANCE
Mechanical Dial
Best at: easy visual reading, repeated comparisons, and battery-free readiness.
Tradeoff: the rack and pinion should be kept clean, and an inch dial cannot instantly switch to metric.
ABSOLUTE
NUMBER
Electronic Digital
Best at: instant numerical readings and convenient inch/mm switching.
Tradeoff: it depends on a battery, electronic contacts, and a readable screen.
Put Them Under Pressure
Select each test. This is not a rigged contest: sometimes digital wins, sometimes simplicity wins, and sometimes the dial reveals its special advantage.
Worried about dead batteries?
Both dial and vernier calipers are fully mechanical. Choose vernier for maximum simplicity, or dial when you also want a larger, easier-to-read display.
RECOMMENDED: DIAL + VERNIERWant the clearest reading?
Digital gives you an immediate number, while dial provides a large mechanical pointer display. Both are easier to read quickly than fine vernier scale alignment.
RECOMMENDED: DIAL + DIGITALNeed instant inch/mm switching?
Choose a digital caliper when frequent unit conversion is essential. A dedicated mechanical dial normally remains in the scale system printed on its beam and face.
RECOMMENDED: DIGITAL CALIPERBATTERYEASY
READINGDIAL
Want the best everyday balance?
A dial caliper combines battery-free mechanical operation with a clear, glanceable display. It occupies the practical middle ground between vernier simplicity and digital convenience.
RECOMMENDED: DIAL CALIPERWhy the Needle Feels Different
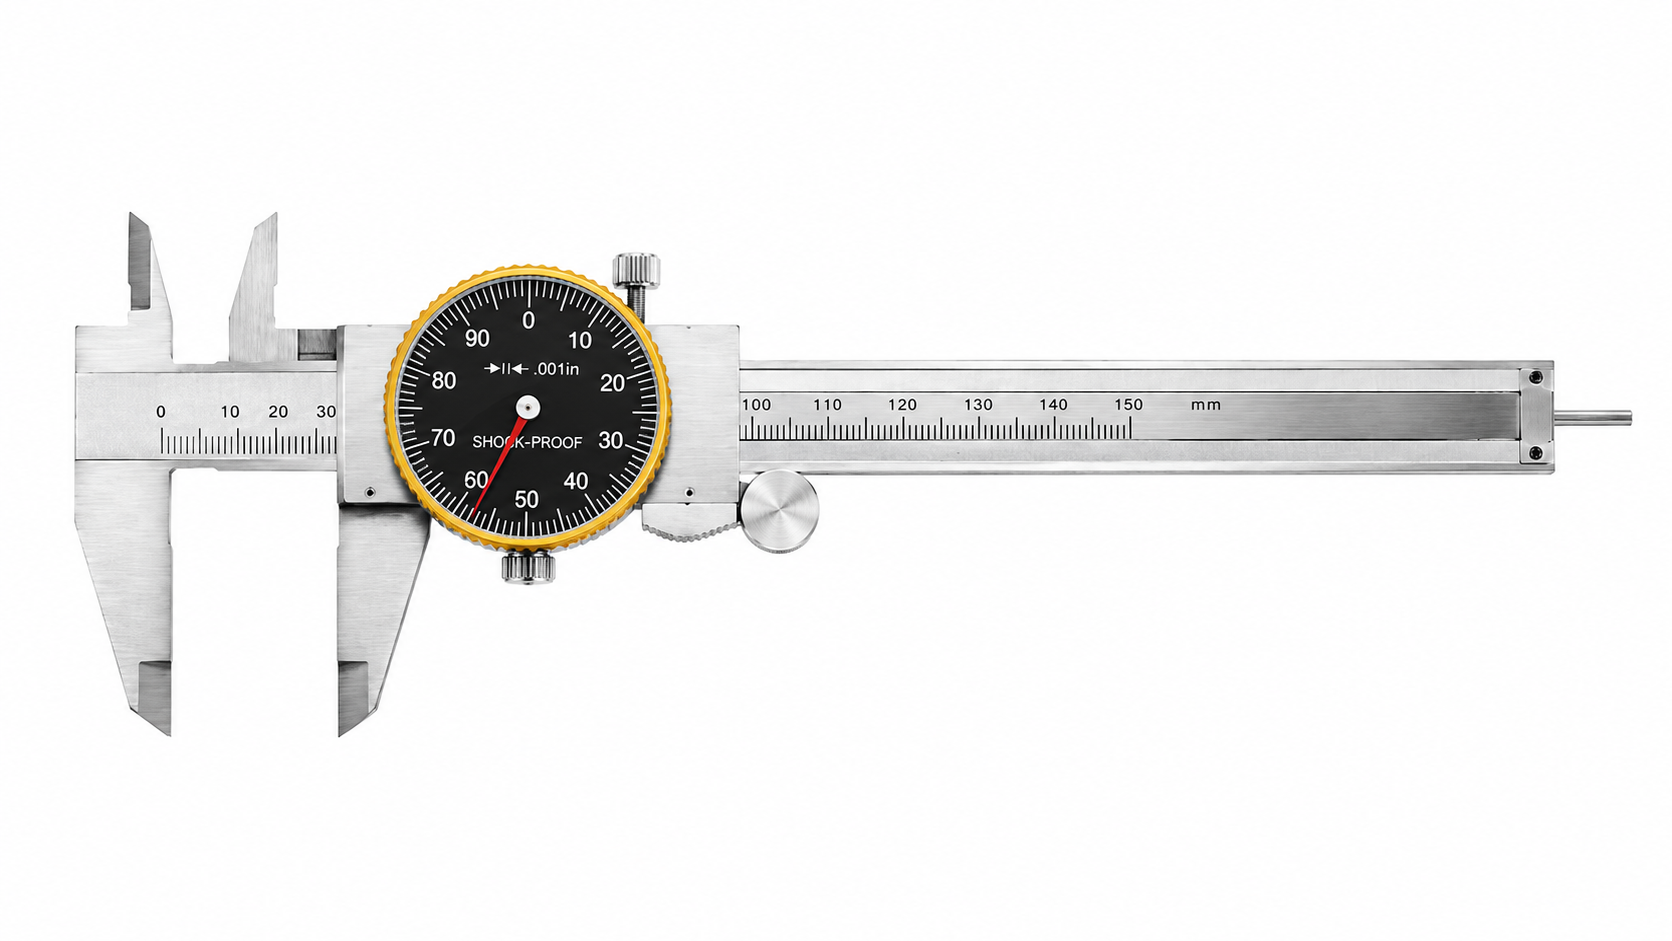
The dial is more than decoration. Select a component to follow motion from the sliding jaw to the reading.
One Tool, Four Ways to Measure
Tap a mission to illuminate the measuring area. Exact available features should always be confirmed on the product specification.
Outside Measurement
Use the larger jaws for outside diameter, plate thickness, and overall part width. Keep the jaws square to the work.
Inside Measurement
Use the smaller upper jaws for holes, slots, and internal dimensions. Open gently until both sides make contact.
Depth Measurement
Extend the depth rod while the beam rests flat against the reference surface. Avoid tilting the tool.
Step Measurement
Use the rear step faces to compare the height difference between two surfaces.
Advantages—and Honest Limits
Hover or tap the cards. A good buying guide should tell you what a tool does well and what it asks from its owner.
Mechanical operation means no dead screen when you reach for the tool.
Needle movement makes relative differences and direction easier to recognize.
A high-contrast dial is generally quicker to interpret than aligning fine vernier marks.
The rack, thumb roller, and pointer provide a direct sense of movement.
Debris in the rack can disturb smooth motion or make the pointer skip.
Unlike most digital models, a dedicated dial scale does not change units at a button press.
The final value combines the beam reading with the dial indication.
A precision dial instrument should be handled gently and stored in its case.
What Matters Most to You?
Choose your priority. The right answer depends on the way you work.
Select one workshop priority:
If fast absolute readings and one-button unit conversion matter most, digital deserves the spotlight.
If you want battery-free readiness, an easy display, and visible comparison movement, dial offers the strongest balance.
If you prefer the simplest construction and are comfortable reading fine scale alignment, vernier remains a capable choice.
Pass the Three-Step Zero Check
A reliable measurement begins before the jaws touch the part. Select each step to inspect the correct preparation.
Remove oil, dust, and metal chips.
Wipe both measuring faces and inspect the dial caliper rack. Debris between the jaws can change the reading, while chips in the rack can disturb smooth pointer movement.
Bring the jaws together gently.
Use light, consistent pressure. Do not force a precision tool closed.
Confirm the pointer returns to zero.
If it does not, clean again and set the bezel correctly before measuring the workpiece.
The Spotlight Finds Its Instrument
DISPLAY LOCKED · SELECT THE BRASS CONTROL ABOVE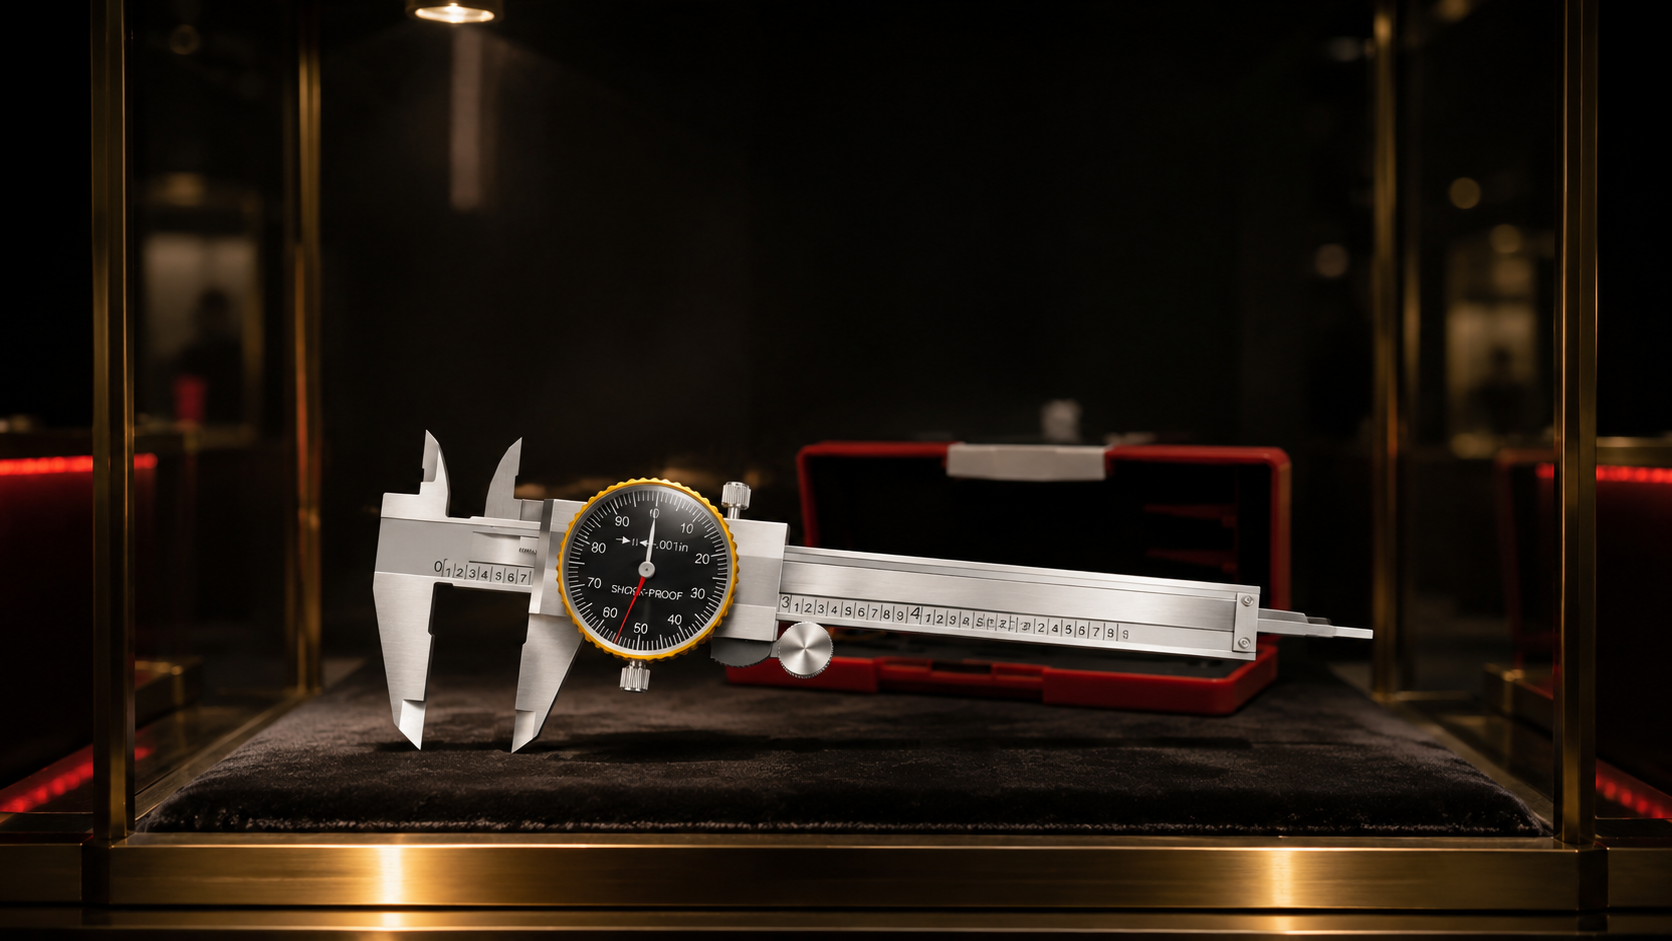
Easier to read than a traditional vernier. Free from batteries and electronic displays. Especially useful when repeated measurements make direction and variation matter.
Confirm measuring range, resolution, accuracy, scale system, and included accessories on the product page before purchase.
